To enroll students with a CSV (comma-separated values) file, the format of the table must be appropriately structured. The following rows must be added in this respective order:
- Username
- Name
- Country
As seen in the example below, each student must be separated by a row and not include any headers, footers, or blank lines.

To upload the file, it must be saved as a CSV file. Once the student information has been added to the file, follow the steps below to save it as a CSV file.
- Download and open the attached Excel file below.
- Input the user information as demonstrated in the image above (the headers should not be included during the file upload).
- Select File.
- Navigate to the Save As… option.
- Add the name you would like the file to have in the Save As… field.
- Under the File Format: drop-down, select the Comma Separated Value (.csv) option and press Save.
Overview Video
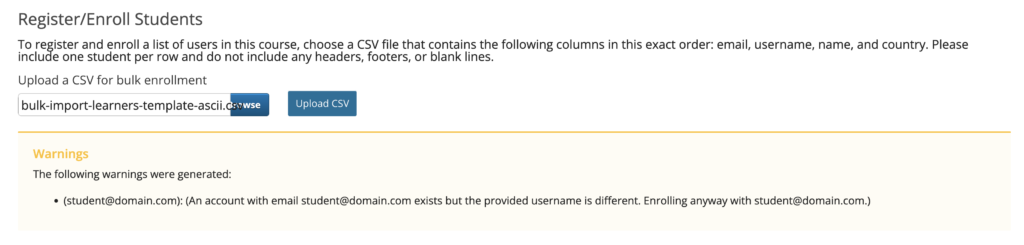
The message displayed below is an example of an error due to an improperly formatted CSV file.

If a username is not entered into the CSV file correctly, the following message will display to inform the instructor or staff member.